Map Release Check List
Info
| Description: | An checklist for releasing an Urban Terror map. |
| Article Type: | Technical |
| Author: | Tub |
| Published: | 2005-01-18 |
Introduction
So you've placed your last brush, just done a compile and you're happy with how everything looks. Time to release the map right? Well not quite. You've finally reached the end game but there's still quite a lot of work to be done. The bigger the project, the longer it's going to take. I don't know about you but for me this last stage is as dull as mapping can get. There really isn't any exciting creative processes. It's just a matter of finishing one step and slogging through the next. Still, you only get one chance to release a final map. So it's worth putting the effort into making it good. I've broken it up into three major sectionsPre-compile
These are the things that need to be done before even worrying about doing a final compile.Spawn points
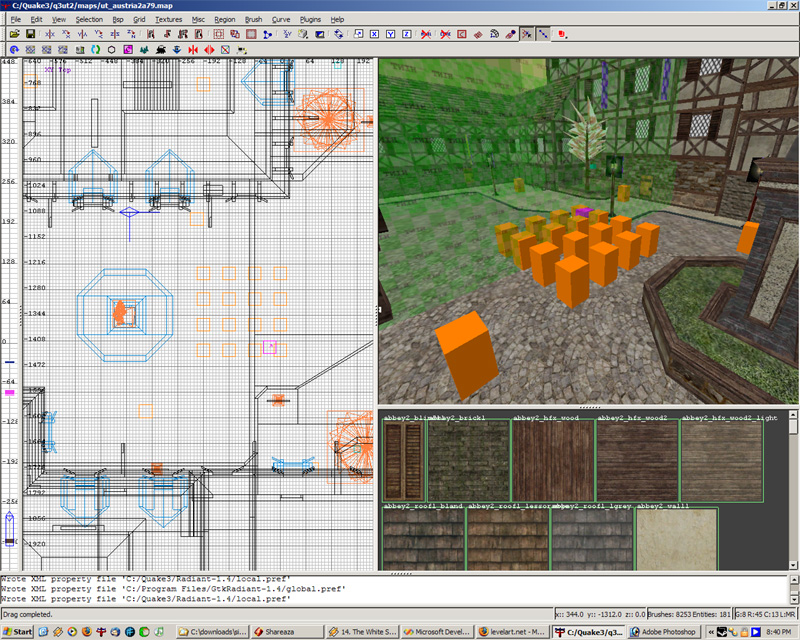 As a mapper spawn point placement should be in your mind from day one.
Generally though it's not worth placing out the entities until the map is
almost finished. I'm not going to discuss the technicalities of setting up
spawns but make sure you've got at least 8 spawns per team, preferably 16.
Also don't forget to place some info_player_deathmatch spawns around as well.
These are used for a couple of game modes.
As a mapper spawn point placement should be in your mind from day one.
Generally though it's not worth placing out the entities until the map is
almost finished. I'm not going to discuss the technicalities of setting up
spawns but make sure you've got at least 8 spawns per team, preferably 16.
Also don't forget to place some info_player_deathmatch spawns around as well.
These are used for a couple of game modes.
Gameplay entities
Want the map to support CTF? Don't forget to add a team_CTF_blueflag and team_CTF_redflag.Bomb mode: You need two info_ut_bombsite entities.
Capture and hold: You'll need some team_CAH_capturepoint.
Clipping
Don't want the player to be to run around on the roofs? Then you're going need to spend some quality time in the editor making sure they're all clipped off. Any building extrusions will have to be looked at as well. Small ledges aren't generally a major gameplay advantage so I tend to leave them alone. It's really up to you as the designer as too how much freedom you want to give the players to jump around. Also remember to clip any models your using. If you don't mind players shooting through soft objects like trees just use the normal clip, otherwise for cars and large models use weapclip. Another thing you may want to do here is limit the ability for players to shoot grenades over certain buildings. To do this you can use the urt weapswallow shader which should be in your comon folder. This is used on several SID maps to stop spamming from one ctf flag to the other. It's not realistic but in testing we've found that the alternative is far worse. Its really a personal choice if you want to include it or not.Sounds
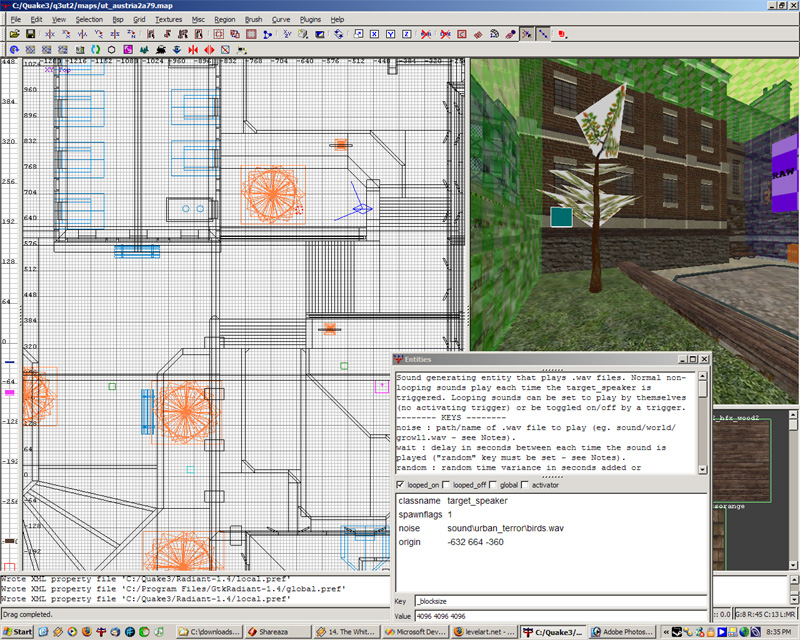 Sounds are an easy way to improve a maps atmosphere. So do take a little time
and select a few existing sounds to add to your map. For all the effort
required it's not worth skipping this step.
Sounds are an easy way to improve a maps atmosphere. So do take a little time
and select a few existing sounds to add to your map. For all the effort
required it's not worth skipping this step.
Locations
It's very easy to forget to add location info to your map but since they are used quite extensively in clan matches it's best to take the time and mark out each main area. You can either use target_locations or trigger_locations.Bomb Explosion effects
Out of all the steps this is probably one you can safely ignore. It is a nice little feature though, so if you have time add a few bombable brushes around your bomb sites. All you need to do is set a brush to func_breakable, type 7, and the explosion will do the rest.Worldspawn
Don't forget to add a message in the worldspawn entity to have your map display some quick details while it's loading.Compile issues
Compiling
I'm not going to spend any time on detailing all the q3map2 switches. There are plenty of places that cover it in far more depth than I ever could. If your interested though this is what I use. It's a heavily modified version of one hybridesque gave me a while ago. I've used it for everything since 3.1.| Q3Map2 switches |
|
q3map2 -game quake3 -fs_basepath "C:/Quake3/" -meta q3map2 -game quake3 -fs_basepath "C:/Quake3/" -vis -saveprt q3map2 -game quake3 -fs_basepath "C:/Quake3/" -light -fast -filter -patchshadows -gamma 1.35 -samples 2 -bounce 15 |
Hinting
Hinting is an art as much as it is a science but if you're in the slightest bit worried about r_speeds you'll need to add some hinting. A lot of people have explained it far better than I could so here's a few articles on hinting alone: FPS - Hint brushes guideBasic hinting
Misaligned Textures and Z fighting
 While you're testing compiles it's a good time to check that all the textures are
aligned correctly. Just flying around the map for ten minutes will find most of
the problem cases. I generally keep a pad and pen on my desk so I can mark down
any issues I find like texture or brush problems.
One thing to watch out for is trim placed at an angle. Not lining the texture
up in these cases looks pretty bad.
Another thing to watch out for are misaligned curve cap textures. I see these
all the time in third party maps. Fixing it generally just requires selecting
the patch and pressing CTRL+SHIFT+N (cycle cap texture) 3 times until it
realigns.
While you're testing compiles it's a good time to check that all the textures are
aligned correctly. Just flying around the map for ten minutes will find most of
the problem cases. I generally keep a pad and pen on my desk so I can mark down
any issues I find like texture or brush problems.
One thing to watch out for is trim placed at an angle. Not lining the texture
up in these cases looks pretty bad.
Another thing to watch out for are misaligned curve cap textures. I see these
all the time in third party maps. Fixing it generally just requires selecting
the patch and pressing CTRL+SHIFT+N (cycle cap texture) 3 times until it
realigns.
Detailing
While detailing is an ongoing process while a map is in the process of being built, generally you'll find yourself doing a lot of it at the end. There are two main reasons why setting detail brushes are important. The first is to stop excessive portals being generated in the vis stage of compiling. Not setting any detail brushes will hurt your compile time tremendously. The second reason is to stop any intricate brushes from cutting up the surrounding brushes. Excessive cuts can add a lot of useless polys to map. Especially important is to watch out for stairs and angled intersections as these both hurt the vis times and the triangle count.Caulking
 The rule for caulking is simple. Every surface that the engine will draw but
the player will never see should be caulked. Working out what the engine will
draw is not that simple though. Unless you really need the extra fps I would
skip this step. It's very easy to miss caulking faces that will be drawn often,
and too easy to spend your time caulking stuff that wouldn't even make it into
the bsp tree.
Caulking is important for detail brushes since redundant faces can quite easily
make it into map. The bsp process attempts to remove as many unnecessary faces
as it can, but for a lot of faces it just doesn't know if they are visible. The
only way to truly be sure that the engine isn't going to draw a face is to mark
it with the caulk texture.
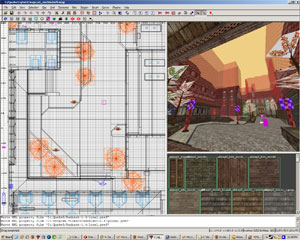
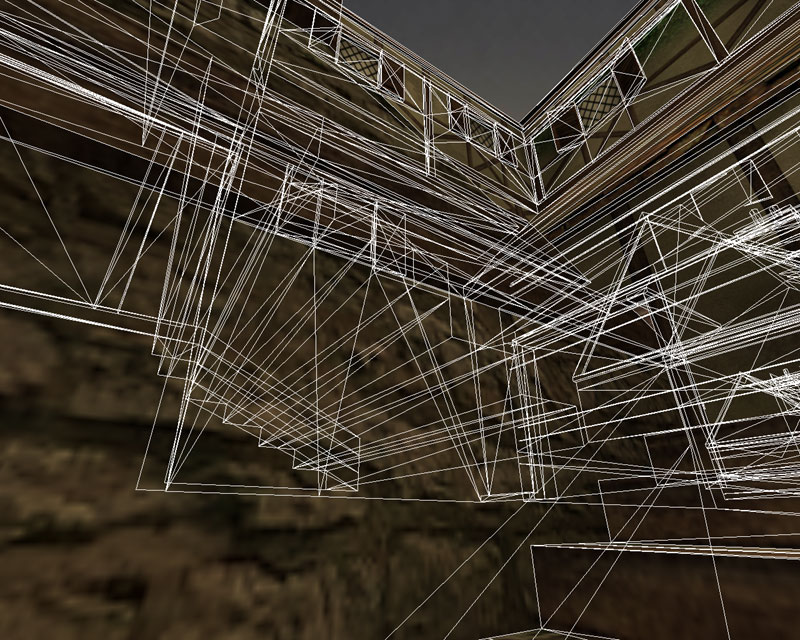
If you look at the attached screen shot you can see an example of what should
be caulked. The backs of the stairs are getting drawn, but the player will
never be able to see them.
Oh and I shouldn't need to mention it but don't forget to caulk your curves.
The rule for caulking is simple. Every surface that the engine will draw but
the player will never see should be caulked. Working out what the engine will
draw is not that simple though. Unless you really need the extra fps I would
skip this step. It's very easy to miss caulking faces that will be drawn often,
and too easy to spend your time caulking stuff that wouldn't even make it into
the bsp tree.
Caulking is important for detail brushes since redundant faces can quite easily
make it into map. The bsp process attempts to remove as many unnecessary faces
as it can, but for a lot of faces it just doesn't know if they are visible. The
only way to truly be sure that the engine isn't going to draw a face is to mark
it with the caulk texture.
If you look at the attached screen shot you can see an example of what should
be caulked. The backs of the stairs are getting drawn, but the player will
never be able to see them.
Oh and I shouldn't need to mention it but don't forget to caulk your curves.
Lighting
I'm sure you've heard it said before that lighting can turn a good map into a great map or it can turn a great map into a poor map. It may be a serious pain to recompile a map every time you want to test changes in lighting, but it's going to take several revisions until everything looks and works well.Final touches
Surface Properties/Sounds
This is something I always forget to do until the last second. Many a time I've uploaded a test version of one of my maps and had to take it down an hour latter because I forgot to set the surface properties. Grab apoxols bsp file if you haven't already got it and assign surface types to all your textures. Takes about 5 minutes and it's not really worth forgetting. If you'd prefer a GUI editor you can grab one that Cry4Dawn{TRIAD} has made.Arena File
Another thing that's easy to forget is an arena file. The arena file is used by urban terror to add the map to the start new server screen and provides the gametype options. Just add text file to your scripts directory with the same name as your bsp but with .arena appended to the end with the appropriate area details. Here's an example from casa.arena :| casa.arena Exampe |
|
{ map "ut_casa" longname "Casa" type "ut_ffa ut_team ut_survivor ut_follow ut_cah ut_ctf ut_bomb" } |
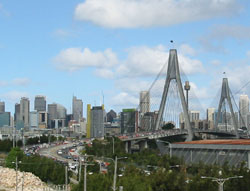
Levelshot
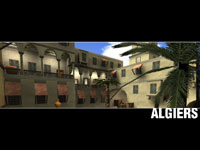 On many occasions this may be the only thing apart from the map name that a
player can use to decide if a map is worth downloading. I'd suggest just
keeping it simple. Use the standard Urt
design with a great screen shot.
On many occasions this may be the only thing apart from the map name that a
player can use to decide if a map is worth downloading. I'd suggest just
keeping it simple. Use the standard Urt
design with a great screen shot.